Rental Listing Photo Checklist for Self-Managing Landlords
Every frame to capture before you hit publish—and the small prep that makes each one work harder.
The short version
A rental gallery should show a clean, current walk-through of the actual unit: exterior or entry, living room, kitchen, every bedroom and bathroom, then the practical details such as laundry, parking, storage, and outdoor space. Shoot in daylight, use wide level frames, and remove anything that distracts from the home.
When you manage your own rental, the listing has to do the explaining before you can. A strong photo gallery answers the questions that generate low-quality messages: Does a real sofa fit? Is there a second bathroom? What does the yard look like? Is the laundry actually in the unit? Your job is to make those answers obvious before a prospect asks.
This checklist is built for the day a unit is clean, quiet, and ready to show. Move through it in order and you will leave with a gallery that makes sense to someone who has never stood in the doorway.
Before you touch the camera
- Choose a daylight window when the primary rooms are bright but not cut by harsh direct sun.
- Open curtains and blinds, then turn on the room lights to soften dark corners.
- Clear counters, bins, laundry, cleaning supplies, cords, fridge magnets, and personal paperwork.
- Make beds, close toilet lids, straighten towels, and check mirrors for smudges.
- Move cars, trash cans, hoses, and packages out of exterior frames.
- Turn on your phone's grid and wipe the camera lens.
Those steps are not decoration. They remove the visual noise that makes a renter wonder whether the property is cared for. For a full reset before the shoot, use this decluttering checklist.
The core photo list
Take the whole set before you begin selecting favorites. It is much easier to discard a duplicate than to return a week later for a missing bathroom or closet.
- Hero photo: the best true image—often the exterior, living room, kitchen, view, or outdoor space.
- Exterior and approach: front elevation, entrance, parking, and any meaningful private outdoor area.
- Main living space: at least two wide corner views if the room has an open plan or unusual shape.
- Kitchen and dining: one wide view plus a second that shows storage, appliances, or the dining relationship.
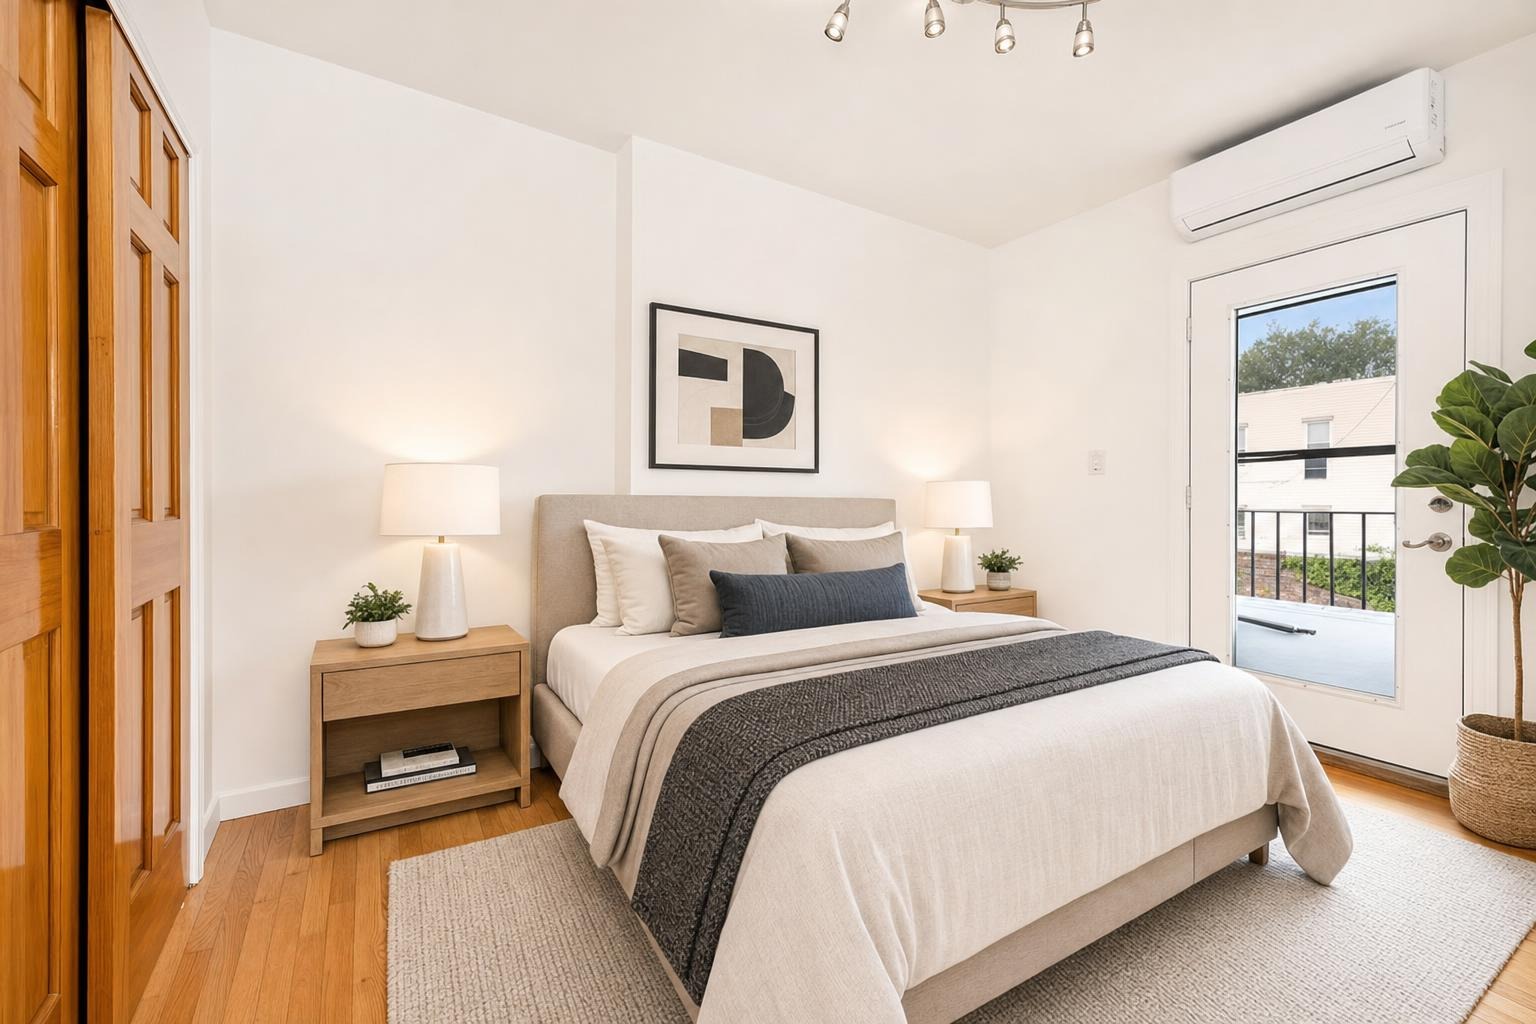
- Every bedroom: show the floor area and a wall that helps a renter judge bed placement.
- Every bathroom: a clean, wide view; do not leave the small half-bath out.
- Practical proof: laundry, pantry, closets, entry storage, basement, garage, or assigned parking when they matter.
- Shared amenities: only the amenities a renter can use, such as a courtyard, gym, pool, or roof deck.
A studio needs fewer frames than a three-bedroom house, but the principle does not change: a renter should be able to reconstruct the layout without guessing.
How to make each room read correctly
Shoot horizontally from a corner at roughly chest height. Keep the phone level so door frames stay vertical. A too-low camera exaggerates the floor; a too-high camera flattens the room and turns furniture into a map. Stand back enough to show two walls, but do not use ultra-wide distortion just to make the room look bigger than it is.
Take two or three angles of the important rooms and compare them later. The best frame usually has a clear foreground, visible depth, and the least distracting edge clutter. If a window blows out, shift your angle before reaching for heavy editing. Bright and honest will always outlast dramatic and suspicious.
Order the gallery like a showing
Photo order is a quiet trust signal. Lead with your single best image, then let the next images flow through the property: exterior or entry, living room, kitchen, dining, bedrooms, bathrooms, then outdoor space and utility features. A renter should not see bedroom two before they understand where the kitchen is.
Do not save the weak photos for the end if they show something material. A small bathroom, dated laundry room, or compact bedroom can still be cleanly photographed and truthfully presented. Hiding it just guarantees a surprise at the showing.
Last review: accurate, complete, current
Before publishing, look at the gallery as a renter would on a phone. Remove near-duplicates, dark frames, and shots with your reflection. Make sure every visible feature is still there and any staged image is labeled as a visualization rather than a promise. Then compare the gallery against the written amenities: in-unit laundry, parking, a balcony, or a pet area should be visible if you make it a selling point.
A self-managed rental does not need a production crew. It needs a clean unit, a deliberate walk-through, and enough honest images to help the right renter see themselves there.
Questions people actually ask
What photos should every rental listing include?
Every rental listing should include the exterior or entry, main living space, kitchen, every bedroom and bathroom, and the practical features that affect a lease such as laundry, storage, parking, balcony, yard, or building amenities. A renter should be able to understand the unit without guessing what is missing.
What is the best order for rental listing photos?
Lead with the single strongest truthful image, then order the gallery like a showing: exterior or entry, living room, kitchen, dining, bedrooms, bathrooms, and finally outdoor or utility features. A logical sequence helps renters understand how the home connects instead of feeling like they are flipping through a shuffled deck.
Should landlords use wide-angle photos for rental listings?
Use a wide, level frame that shows the room shape, but avoid extreme ultra-wide distortion. A renter needs an honest sense of size and flow, not a stretched room that feels different at the showing. The main phone lens from a corner is usually the safer choice.