How to Photograph a Room for Real Estate: A Phone-Only Guide
Pro-looking listing shots with the camera already in your pocket. No DSLR, no tripod budget.
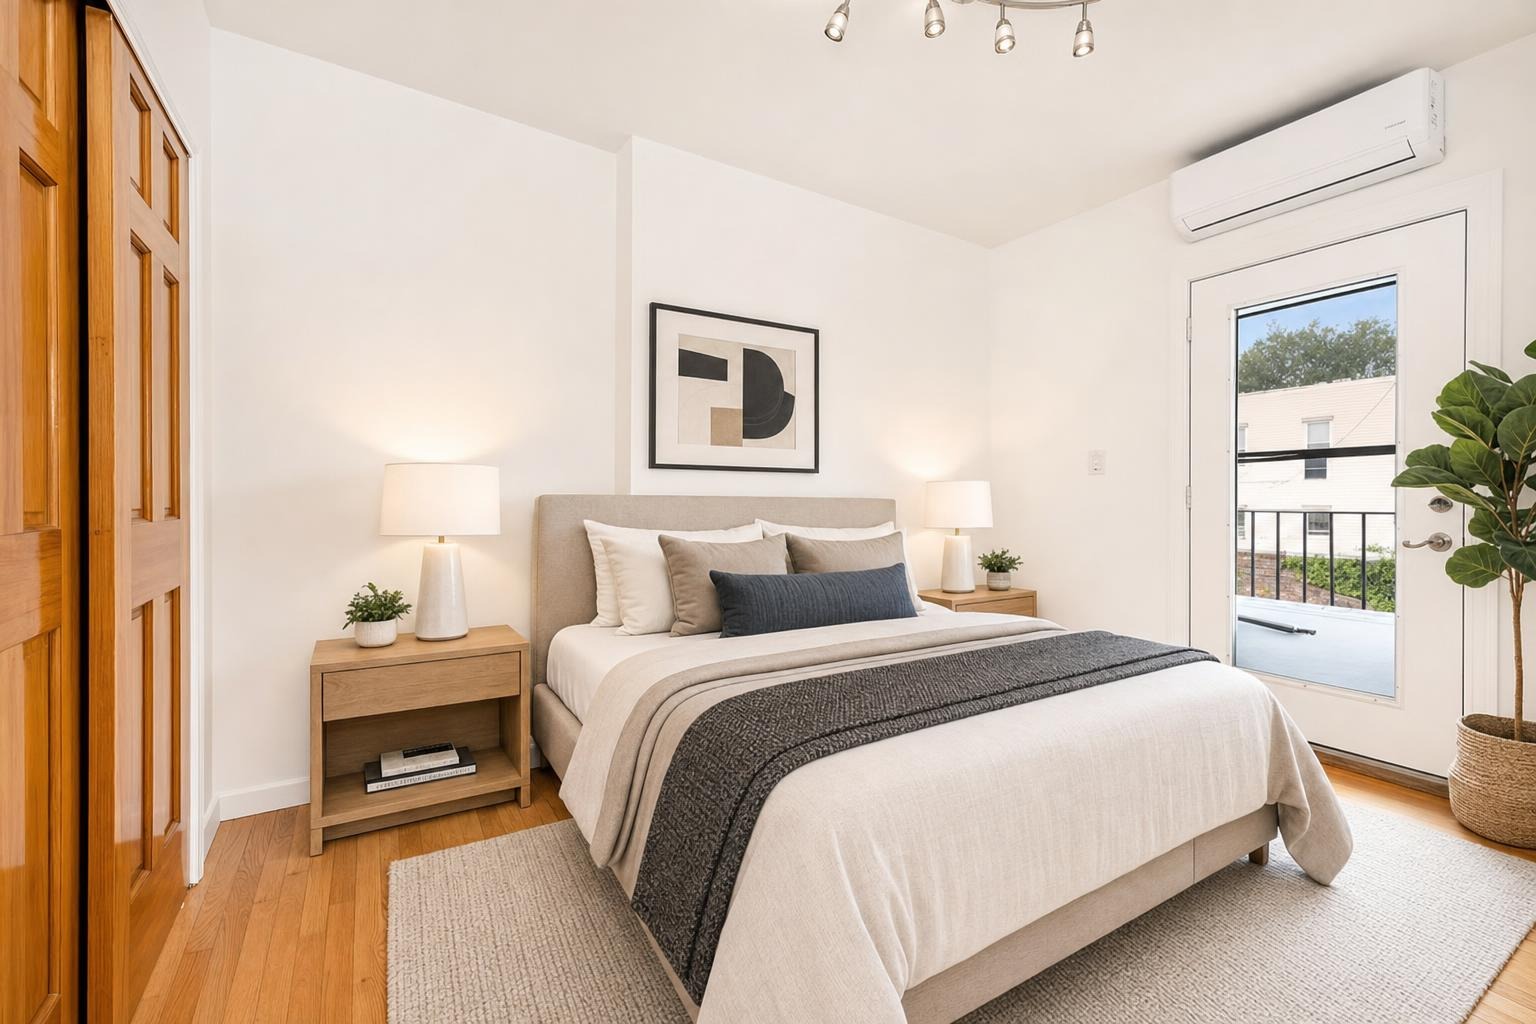
 after · staged
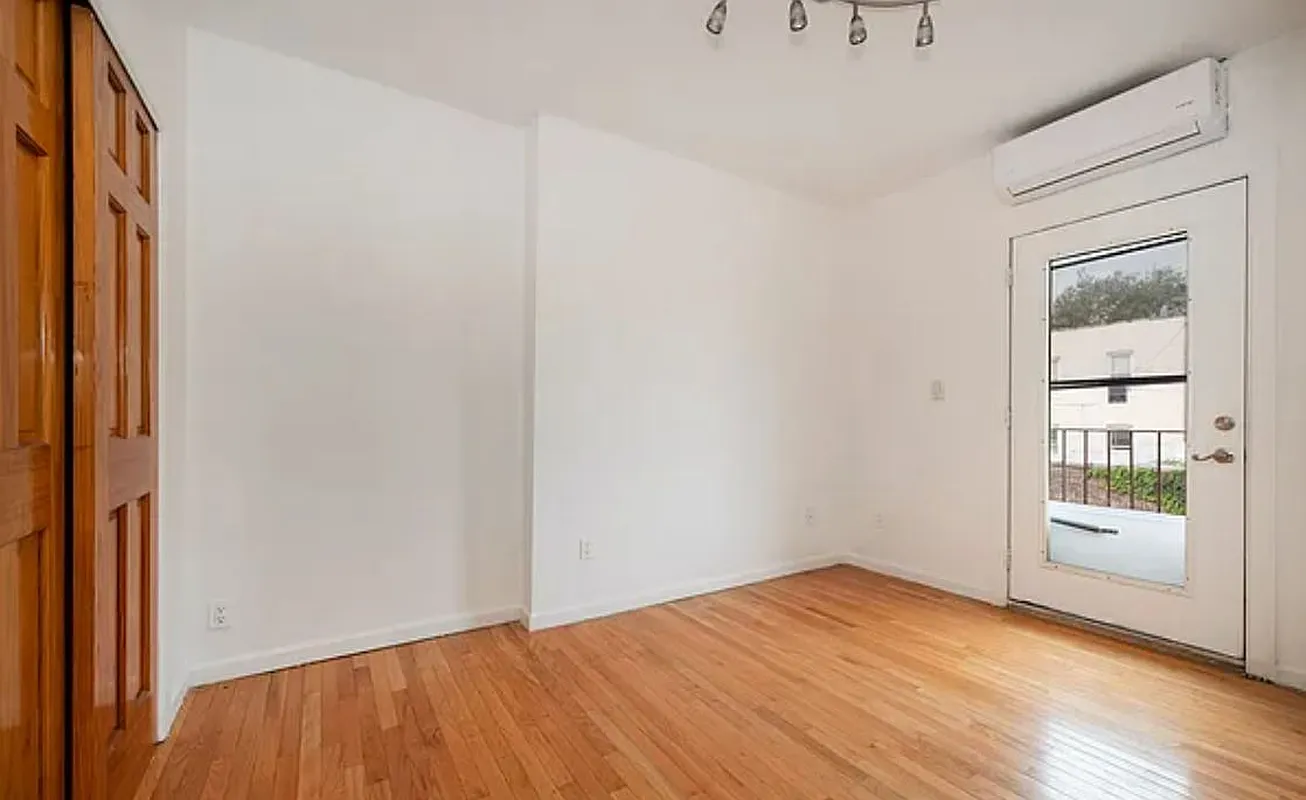
before
after · staged
before
The phone in your pocket can shoot a listing photo that looks like it came from a $300 photographer — if you handle it right. Modern phone sensors are genuinely good now; what trips most people up isn't the gear, it's lighting, angle, and a few habits that take ten seconds each. Here's how to shoot a room so it reads bright, square, and spacious, using nothing but the camera you already own.
Light the room before you lift the phone
Good real-estate light is layered light. The single biggest upgrade you can make is to shoot in daylight with every artificial light on, too — the mix fills shadows and gives the room a warm, lived-in glow that buyers respond to.
- Shoot midday when you can. Soft, even daylight floods the space and kills the harsh shadows you get at dawn or dusk.
- Turn on every lamp and overhead. Yes, all of them. Open closet lights, under-cabinet strips, the works. It reads as "this home is alive."
- Open the blinds, not the curtains-of-darkness. Let the window light in but watch the blowout (more on windows below).
- Kill mixed color casts where it's easy. A blue-white LED next to a warm bulb can fight each other; matching bulbs in the hero rooms helps.
Stand in a corner, at chest height
Where you stand decides how big the room looks. The move pros use: back yourself into a corner of the room and shoot toward the opposite corner. That diagonal sightline shows two full walls and the most floor, which is exactly the sense of space a buyer is scanning for.
- Shoot from a corner, not the doorway center. Doorway shots flatten the room; a corner opens it up.
- Hold the phone at roughly chest height — about 48 to 54 inches off the floor. Eye-level tilts you down at the floor; hip-level makes ceilings loom. Chest height keeps the balance natural.
- Capture a slice of the floor and the ceiling both. It anchors scale and stops the photo from feeling claustrophobic.
Keep the phone dead level
This is the detail that separates "amateur" from "clean" in one glance. When you tilt the phone up or down, vertical lines — door frames, window edges, the corners where walls meet — fan outward and the room looks like it's tipping over. Keep the phone perfectly upright and those lines stay straight and parallel.
- Turn on your camera's grid. Line a wall edge up with a gridline and you'll instantly see when you're tilted.
- Use the built-in level. Most phone cameras show a horizon level when you aim down; for room shots, keep the phone vertical-plane straight so walls don't lean.
- Don't "fix it later" by cropping a tilt. Correcting keystone distortion after the fact costs you resolution and never looks as good as nailing it in-camera.
Go wide — but not fisheye-wide
A wider field of view shows more of the room, which is why real-estate shooters love wide lenses. Phones with an ultra-wide lens are tempting here, but there's a trap: the widest setting bends straight lines and stretches whatever's near the edges, so a sofa balloons and the room looks warped and untrustworthy.
- Use the main wide lens, or a 0.7x–0.8x if your phone offers it — enough breadth without the bulge.
- Avoid the extreme 0.5x ultra-wide for hero shots. It exaggerates the room dishonestly and buyers feel cheated at the showing.
- Step back instead of zooming wider. Physically backing up shows more room with none of the distortion.
Clean and declutter first — it's faster than fixing it after
Editing clutter out of a photo is slow and fiddly. Moving it before you shoot takes a minute and looks perfect. Treat the shot like a mini-staging pass.
- Clear counters, nightstands, and the floor of cords, chargers, mail, and shoes.
- Hide the bins, the pet bowls, the toilet brush. Lids down on every toilet, always.
- Square up the furniture and fluff the pillows. Straight lines photograph calm.
- Remove personal photos and fridge magnets so buyers picture themselves, not you.
If the room is empty rather than cluttered, that's a different job — see how to stage an empty house for photos before you shoot.
Tame the windows with HDR and tap-to-expose
The classic phone mistake: the room looks good but the windows are a blown-out white rectangle, or you expose for the window and the room goes dark. The fix is built into your phone.
- Leave HDR (or "Smart HDR") on. It captures the bright window and the shadowed corners in one frame and blends them, holding detail in both.
- Tap to set exposure on a mid-tone — a wall or the floor — then nudge the brightness slider down a touch so the windows keep their view instead of glaring white.
- If the view outside is nice, protect it. A window showing trees or a yard is a selling point; don't let it clip to white.
The small habits that add up
- Wipe the lens. Phone lenses live in pockets and pick up a haze that softens every shot. Ten seconds with your shirt fixes it.
- Shoot landscape, always. The MLS and every listing portal display horizontal photos; a vertical shot gets cropped or letterboxed and looks wrong.
- Take several frames per room. Shift a foot left, try a different corner, vary the height slightly. Shoot five, keep one. Storage is free; a reshoot trip isn't.
- Brace yourself or use a timer to kill micro-shake — lean a shoulder on the door frame, or set a 2-second timer so the tap doesn't jiggle the frame.
Finishing the shot
Once you've got a clean, level, well-lit frame, the last mile is the part that used to need a photographer and a stager. It doesn't anymore. With a clean shot in hand you can brighten it, declutter the last stragglers, and stage an empty or sparse room with real furniture in about a minute, for around $1 a photo — and because the tool works from your actual photo, the room's real layout, windows, and proportions are preserved. That honesty matters: buyers see the true space, just at its best.
That's exactly what Stylst does. Shoot the room with the guide above, upload it, pick a style, and you get a bright, staged, listing-ready image back — no subscription, pay only for the photos you use. If you're curious how the staging itself is rendered, we break it down in AI virtual staging: how it works. Stylst is on Google Play, too, so you can shoot and stage from the same phone you took the photo on.
Nail the capture, let the app handle the polish, and a phone-only listing set can hold its own against anything a hired shooter delivers.