How Painters Photograph Their Work (Without Making It Look Flat)
Fresh paint is the hardest thing in the trades to photograph. It's flat, it shifts color on camera, and on a phone screen it can disappear entirely.
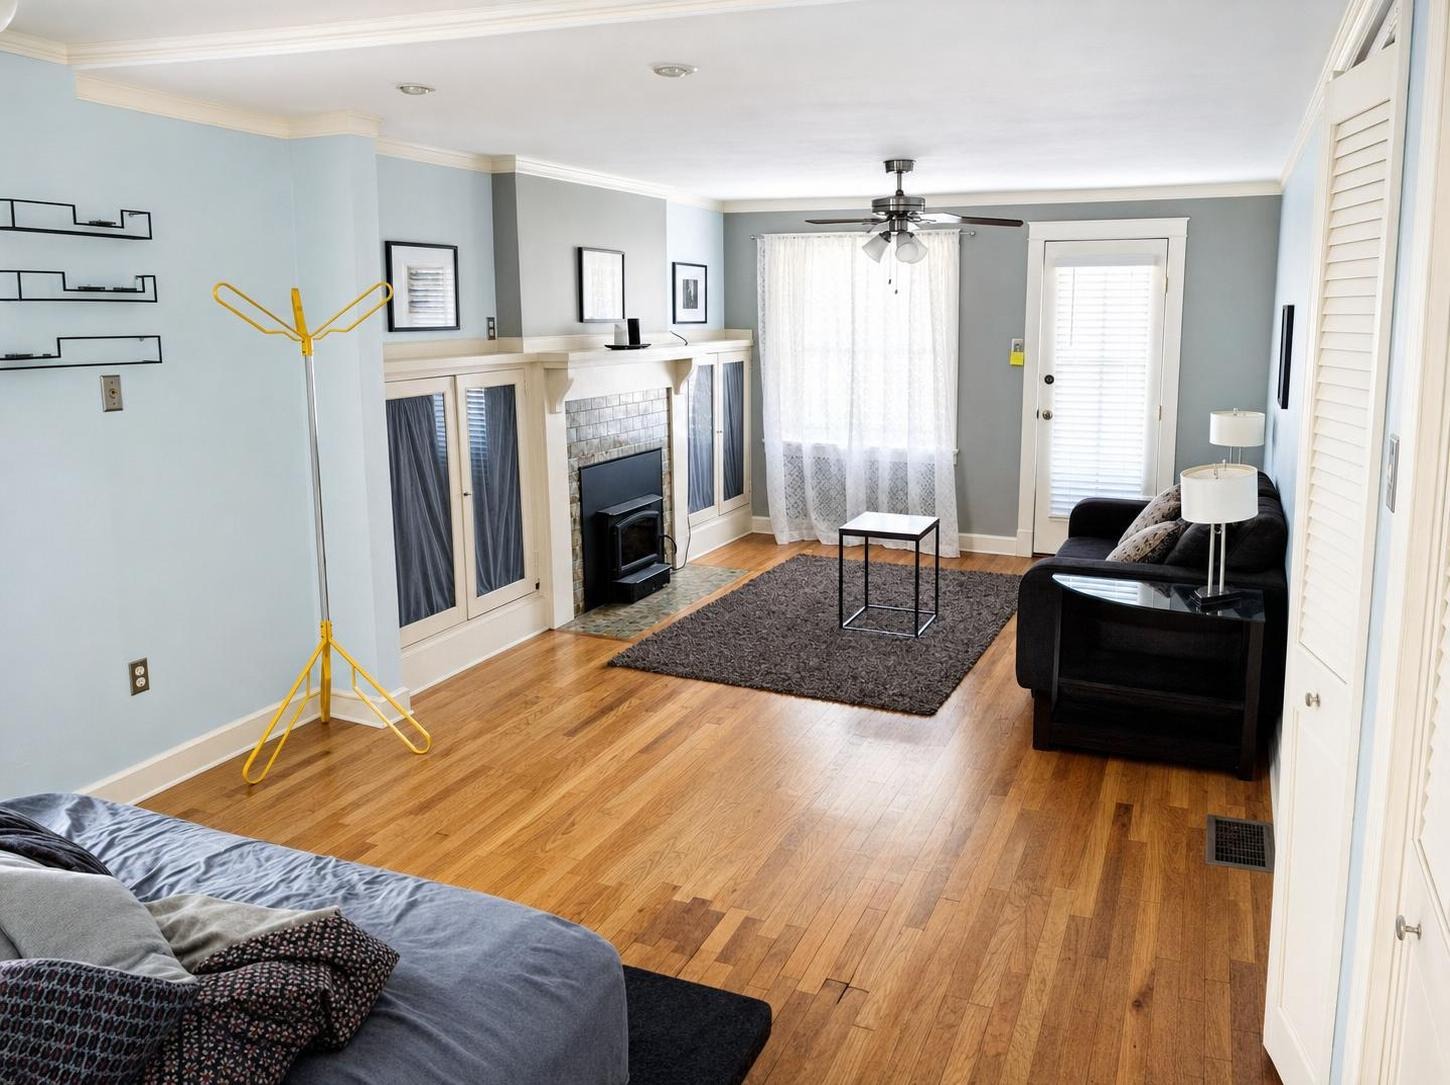
 after · enhanced
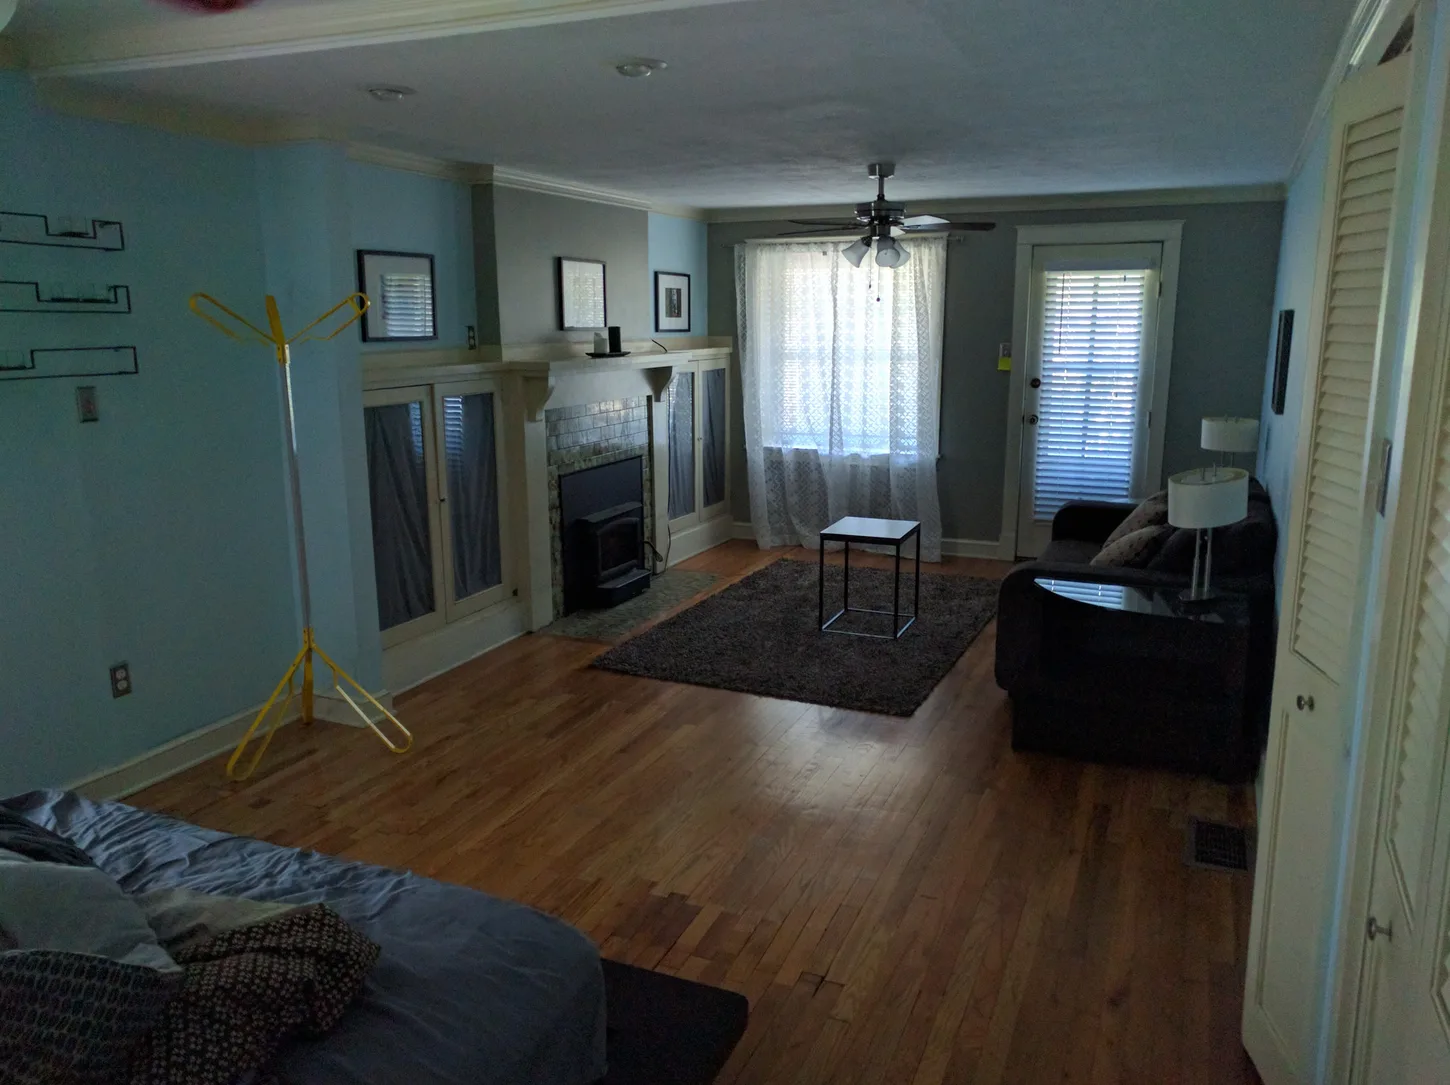
before
after · enhanced
before
The short version
Fresh paint is the hardest thing in the trades to photograph: it is flat, it shifts colour on camera, and on a phone screen it can disappear entirely. Shoot the wall at an angle rather than flat on, fix the mixed lighting that is wrecking your colour, and get the ladders and drop cloths out of the frame.
Here's the painter's problem in one sentence: the better your work is, the less there is to photograph.
A perfect paint job has no texture, no shadow, no object to focus on. It's a smooth surface of a single color. The camera, which is looking for edges and contrast, finds nothing, meters the whole scene as an average, and hands you a picture of a beige rectangle. Three days of prep, patching, caulking, cutting, and two coats — and the photo shows a wall.
Meanwhile the colorist you spent an hour with picked a warm greige, and your phone renders it flat gray with a green cast because there's a compact fluorescent in the fixture overhead. Now the homeowner sees the photo and thinks you painted the wrong color.
This is fixable. It's mostly light and angle.
Don't shoot the wall flat-on
A wall shot straight-on is the flattest possible image. Turn slightly so the light rakes across the surface at an angle — that's what brings back the subtle sheen, the depth of the color, and the sense that there's a physical wall in the frame instead of a color swatch.
Then give the eye something to measure against:
- Get a corner in the frame. Two planes meeting is what makes a room read as a room. It also shows off a clean inside cut.
- Include the ceiling line and the trim. Your craft lives at the edges. A dead-straight cut line between wall and ceiling is the strongest thing in a painter's portfolio, and no one will see it if you only shoot the middle of the wall.
- Include something white. Trim, a ceiling, a door casing. It gives the viewer a reference for the color and gives the camera something to balance against.
- Shoot from a corner across the room for the wide, the same way listing photographers do — the framing rules in how to photograph a room transfer directly.
Mixed light is what's killing your color
Most job-site photos are lit by two or three light sources at once: daylight through a window (cool), a warm bulb overhead, maybe a work light on the floor (bluish). Your phone has to pick one white balance for the whole frame, so it splits the difference — and every color in the room shifts.
Pick one source and commit:
- Daylight only. Open all blinds, turn every lamp and fixture off. This is the cleanest option for color fidelity and it's free.
- Artificial only. If you're shooting a dark hallway or a basement, close the blinds and use consistent bulbs, all the same color temperature.
- Never both. One warm bulb burning in the corner of a daylit room is enough to throw the color of every wall in the frame.
Shoot at the brightest time of day the room allows, avoid direct sun blasting through a window into the lens, and lock your exposure by tapping on a mid-toned part of the wall. If you want to go deeper on why phone cameras fight you in high-contrast rooms, HDR photography explained covers it.
The edit must never change the color.
This is the painter's hard line. An edit that corrects exposure and white balance so the color reads true is doing you a favor. An edit that "improves" the color into something you didn't apply is a customer complaint waiting to happen — the homeowner opens Instagram, sees a color they didn't buy, and now you're arguing about the wall. Correct the light. Never the paint. When the after comes back, hold it next to the physical chip before you post it.
Get the ladders, tape, and drop cloths out
Every painter has the same after photo: a beautiful room with a step ladder in the corner, a roller tray on a drop cloth, a roll of blue tape on the windowsill, and a five-gallon bucket by the door. It reads as "in progress," and it undercuts a finished job.
Best case, you clear the frame before you shoot — thirty seconds of moving gear buys you a photo you can use for years. When you can't (the client is home, the furniture is stacked, you're already loading out), a Declutter pass pulls the equipment out of the frame while leaving the actual room untouched: the furniture stays, the fixtures stay, the paint stays, your gear goes. The declutter checklist is written for listings, but the list of things that ruin a frame is identical.
The before matters more for you than for anyone
Nobody hires a painter to look at a finished wall. They hire a painter because they're staring at something they hate: a 1990s sponge-paint accent wall, water-stained ceiling, peeling exterior clapboard, a kid's purple bedroom. The before photo is the reason the client called, and it's the reason the next client will call.
So shoot it before you tape. Same corner, same height, same framing you'll use at the end. Get one detail of the specific ugliness: the crack you're going to patch, the failing caulk line, the flaking sash. Then take the exact same frames when you're done, and you have a pair that tells the story without a caption. The general shooting discipline is in before/after photos that book jobs.
Exteriors are a different job
For exterior painting, the curb frame is the money shot: stand in the street, centered, and get the whole face of the house. Shoot before/after from the same spot in the same light — an after shot taken in golden sun against a before shot taken on a gray Tuesday isn't a comparison, it's a lighting trick, and prospects sense it.
The composition rules are the same ones agents use in curb appeal exterior photos. And if the house came out beautifully, a dusk version of the finished exterior is a stronger post than the daytime one — see day-to-dusk conversion. Same house, relit; not a different house.
Where Stylst lands
Stylst is a phone app built for exactly this. Enhance fixes the exposure and white balance so the color you actually applied is the color in the photo — it adds nothing and removes nothing, which is the only edit a painter should ever want on a wall. Declutter takes the ladders, tape, and buckets out. Day-to-Dusk gives an exterior job an evening version.
You can also set a photo rule on your account — a standing instruction applied to every photo you run, like "keep wall colors exactly as photographed, never adjust hue." Photos come back in about 30 seconds, $1 each, pay-as-you-go, no subscription required. If one misses, tell us within 24 hours and we'll re-run it free with your feedback; if it still misses, we credit you back. Stage a photo from your last job.
The bottom line
Paint is invisible on camera unless you help it. Shoot at an angle so the light rakes the surface, get a corner and the trim line in the frame, kill the mixed light that's shifting your color, clear your gear out, and always take the before. Then correct the exposure — never the color — and let the wall look the way it looks in the room.
Questions people actually ask
Why does fresh paint look flat in photos?
Because a wall shot straight on is the flattest possible image: no shadow, no texture, no depth. Shooting at an angle lets raking light across the surface show the finish, and including a corner, a trim line or a piece of furniture gives the eye something to read the colour against.
Why does my paint colour look wrong in photos?
Mixed lighting, almost always. A typical job site has daylight through a window, a warm bulb overhead and maybe a bluish work light on the floor, and a camera cannot balance three colour temperatures at once. Turn off what you can, shoot with one dominant light source, and correct the white balance afterwards.
What should painters remove before the after photo?
The step ladder, the roller tray, the drop cloths, the blue tape and the five-gallon bucket. Every painter has the same after photo of a beautiful room with their equipment still in it, and the equipment is what makes it read as a job site instead of a finished room somebody lives in.