Dining Room Staging Tips for Listing Photos
The dining room sells a feeling — gathering, hosting, holidays. Stage it so buyers picture the table full.
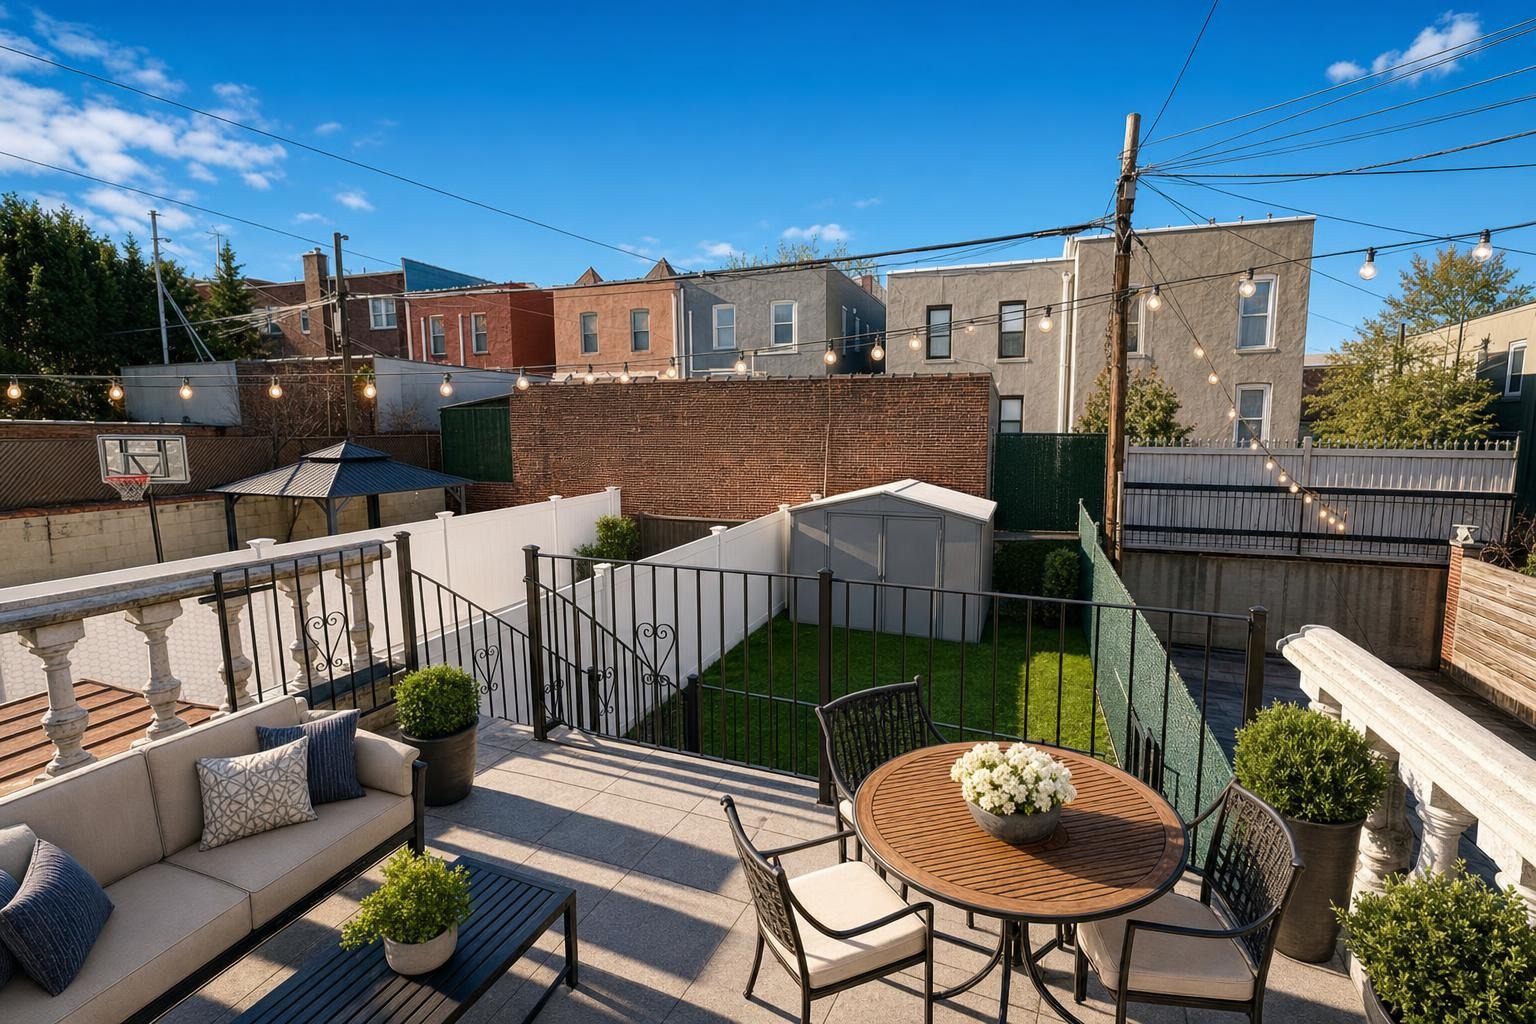
 after · staged
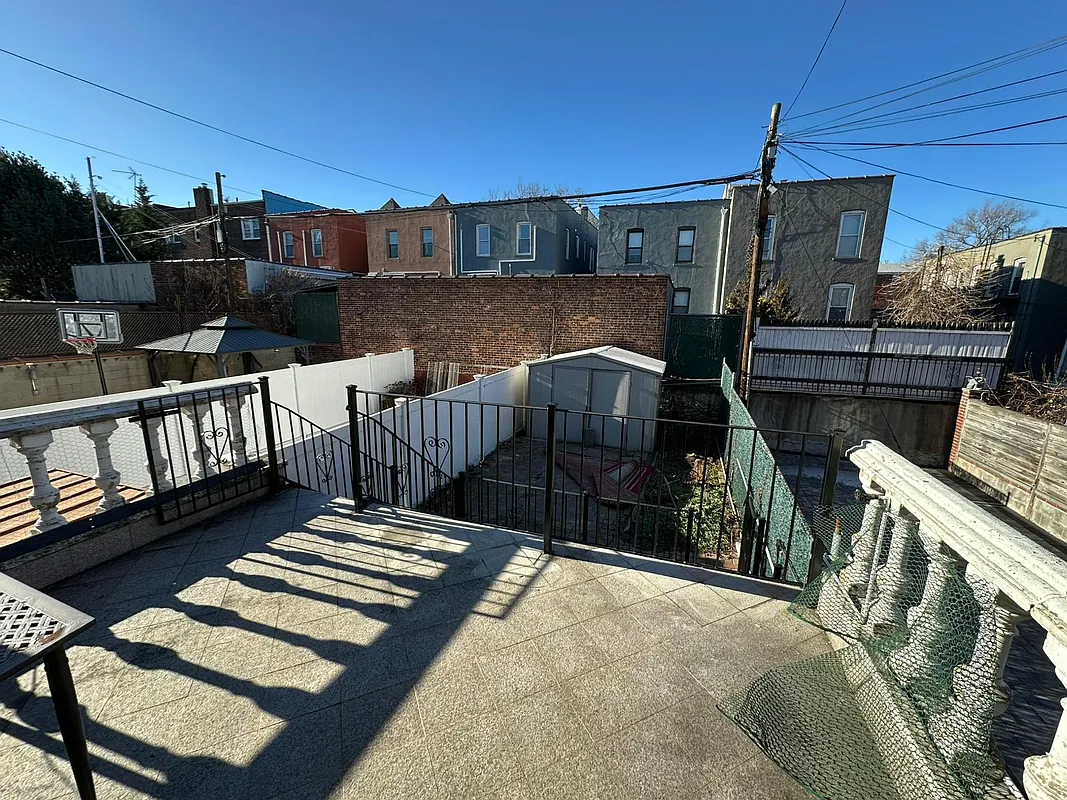
before
after · staged
before
The dining room is one of the easiest rooms to get wrong in listing photos, because it's so often the room that gets skipped or shot as an afterthought. Buyers, though, read it closely — a dining space signals whether the home can host, whether there's room to gather, and whether the floor plan flows the way they hope. An empty corner with a folding table says "we never used this." A warm, properly set table says "this is where the holidays happen." Same square footage, completely different story.
Give the table a job
An unstaged dining room usually reads as ambiguous — is it a dining room, an office, a catch-all? A set table removes the doubt in a single glance. You don't need a banquet; you need enough to make the purpose obvious:
- Place settings for four to six — plates, folded napkins, and simple flatware. Skip the full formal spread; it photographs cluttered.
- A low centerpiece — a bowl of fruit, a short vase of greenery, or a couple of candlesticks. Keep it low enough to see across the table.
- Matching chairs, evenly spaced. Mismatched or crowded chairs are the fastest way to make a nice room look temporary.
The goal is aspiration without fuss. A buyer should look at the shot and imagine their own Sunday dinner there, not feel like they're intruding on a photo shoot.
Get the scale right
Scale is where most dining rooms fall apart on camera. A table that's too small floats in the middle of the floor and makes the room feel like leftover space; a table that's too big makes the room feel cramped and hard to move through. Aim for a table that leaves comfortable clearance on all sides — enough to pull a chair out and walk behind it. If the room is genuinely small, a round table often photographs better than a rectangular one because it softens the corners and reads as more generous.
If the space is on the tight side, our guide to making small rooms look bigger covers the angles and lens choices that help.
Light it like the room is in use
Dining rooms are often interior spaces with a single window and a pendant or chandelier overhead — which makes them prone to looking dim and yellow. A few fixes:
- Turn on the overhead fixture and any wall sconces, but let natural light lead. A glowing chandelier over a table reads as inviting; a chandelier that's the only light source reads as gloomy.
- Open the curtains fully. Dining rooms tend to have heavier window treatments — pull them all the way back so the daylight does the work.
- Watch the white balance. Warm bulbs plus warm walls can push the whole shot orange. Even it out so the wood tones look true rather than jaundiced.
For the broader rules on when to shoot each room, see the best time of day to shoot real estate photos.
Clear the surfaces, keep two or three touches
Dining tables collect mail, chargers, homework, and the fruit bowl that never gets eaten. Clear all of it, then add back only the two or three intentional touches from the staging list above. The same goes for the sideboard or buffet if there is one — a lamp, a piece of art, and a small plant is plenty. Everything else photographs as clutter. Work through the declutter checklist before you shoot; the dining room rewards empty surfaces more than almost any other room.
Empty dining room? Stage it in the photo.
If the home is vacant or the current table is wrong for the space, you can add a properly scaled dining set virtually instead of renting furniture. Stylst keeps the real room — walls, windows, floor — and drops in a table and chairs that fit, so an empty room photographs like a home. Just disclose that it's staged in the listing.
Compose the shot from the doorway
The strongest dining room photo is usually taken from a corner or the doorway, shooting across the table toward a window or into the adjoining room. This gives the space depth and shows how it connects to the rest of the home — buyers love seeing a dining room open to a kitchen or living area because it reads as sociable. Shoot at chest height, keep your verticals straight so the walls don't lean, and get the whole table in frame with a little breathing room around it.
A quick dining room checklist
- Table set for four to six, matching chairs evenly spaced.
- One low centerpiece — nothing that blocks the view across the table.
- Table scaled to the room, with clear walking space around it.
- Overhead fixture on, curtains fully open, white balance neutral.
- Every surface cleared except two or three intentional touches.
- Shot from the doorway or a corner, verticals straight.
- Staged photos disclosed in the listing.
Get those right and the dining room stops being the room buyers skip and becomes the one that makes them imagine living there. If you're staging the whole home, keep the look consistent from room to room — our repeatable staging workflow shows how to hold one standard across the full photo set.